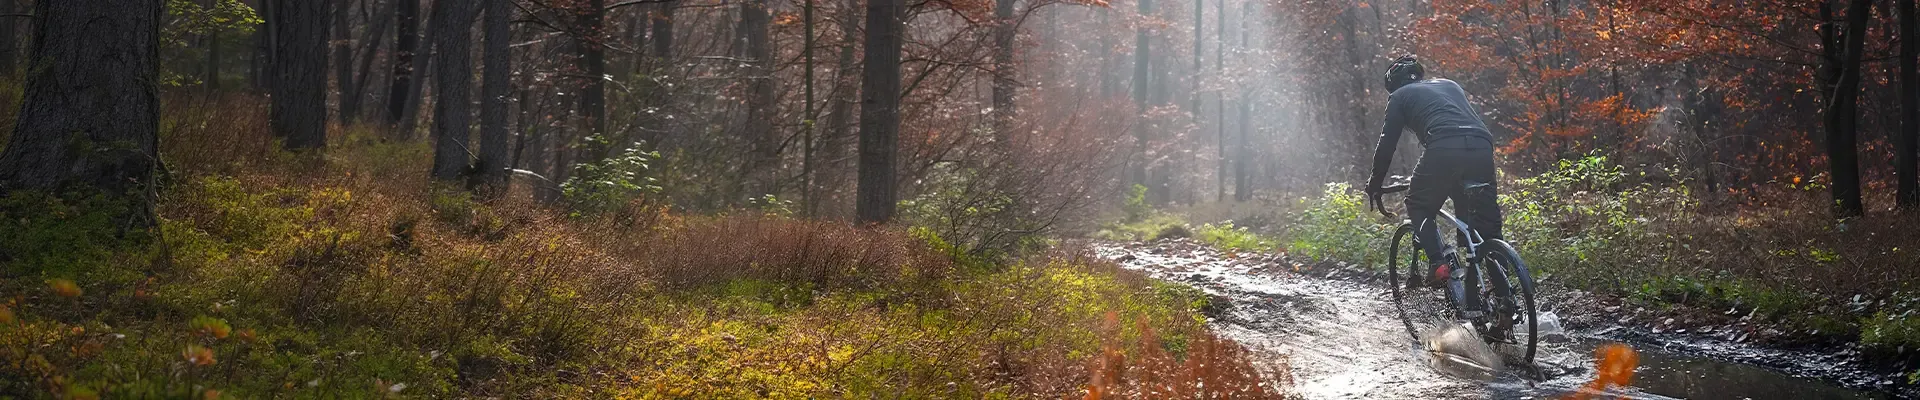
Less spray. More comfortable miles.
Find the right mudguards for the way you ride, with a fit that works for your bike.
Wet roads can leave you soaked long after the rain stops. Mudguards catch some of the water and dirt thrown up by your tyres, helping you arrive more comfortable and spend less time cleaning up.
The best choice depends on where you ride, how much coverage you want and what your bike can accept. A small trail guard and a full set of commuter mudguards do different jobs. Neither is useful if the mounting points or clearances are wrong.
Start with your riding below, then use the fit checks before choosing a product. You don’t need to learn every fitting standard; you just need to know which details to check.
Which mudguards suit your riding?
Use this as your starting point, then check the bike itself.
Mudguard choices at a glance| Your riding | A good starting point | The key fit check |
|---|
| Mountain biking — front | An MTB fork guard helps keep flying mud and spray out of your face and line of sight. Commonly used on its own. | Fork compatibility and clearance through suspension travel. |
|---|
| Mountain biking — rear | A longer rear guard reduces spray onto your back. Short guards can reduce mud collecting around the chainring, pivots or rear shock, depending on their position. | Choose for rider or component protection; check frame and moving-part clearance. |
|---|
| Road cycling | Full-length guards where mounts allow; strap-on road guards for more coverage without eyelets; a small saddle guard for less spray onto your bum and back. | Many performance road bikes, particularly carbon models, lack eyelets. Check the attachment and tyre space. |
|---|
| Commuting, leisure & touring | A full-length front and rear set where the bike allows it. | Coverage for clothes and feet, plus rack compatibility. |
|---|
| Gravel & mixed surfaces | Similar choices to road bikes, sized for wider tyres. A compatible MTB-style guard may suit a suspension gravel fork. | Tyre width, tread clearance and fork compatibility. |
|---|
| Electric bikes | Use the same approach as the equivalent non-electric bike. For electric cargo bikes, start with the model’s intended guards or replacements. | Bike type, tyre sizes and any integrated light or rack fittings. |
|---|
| Folding & compact bikes | Start with a suitable model-specific set or replacement. | Wheel size, mounting points and clearance when folded. |
|---|
Understand the main mudguard types
Full-length mudguards
These follow a large part of the wheel, usually with metal support rods called stays. A well-fitted pair gives broad protection for everyday wet riding. Initial fitting takes more care, and the bike needs suitable mounts or approved adapters, plus enough space around the tyres.
Removable road & gravel guards
Straps, clips or dedicated brackets let you add protection when you need it. Some provide substantial coverage without frame eyelets. Check the shape and length: “clip-on” describes the attachment, not how much spray it catches. Initial setup may still need tools.
MTB fork guards
A compact flexible guard attaches around the fork legs and brace; longer moulded designs catch more spray. Some use straps or cable ties, others bolt into compatible forks. They focus on front-wheel spray near your face and fork, rather than keeping all your clothing dry.
Rear blades & saddle guards
A rear blade attaches to a suitable seatpost or frame; a small saddle guard usually fits beneath the saddle. These can reduce spray up your back with relatively little fitting. Short guards provide limited coverage, so choose a longer compatible rear guard if staying cleaner is the priority.
Front, rear or a complete set?
For commuting and wet road riding, front and rear guards work together. A long front guard helps limit spray towards your feet and lower legs; a rear guard reduces the spray reaching your back. Longer rear coverage and a suitable mudflap also help riders following you.
On an MTB, a front guard is a useful first step for reducing spray towards your face. Add a rear guard if you want more protection for your back. Check its purpose: a small guard shielding the rear shock is not the same as a long guard protecting the rider.
Mudguards for mountain biking
For trail riding, start with a secure front guard that leaves plenty of room for the tyre and mud. A short, flexible guard keeps things compact; a longer moulded guard gives more coverage when the trails are wet.
Strap-on designs can suit a wide range of forks, but the fork’s brace shape and available space still matter. Bolt-on guards give a tidy fit when the mounting pattern matches. Check the fork model and generation, rather than choosing by brand alone.
At the rear, hardtails and full-suspension bikes can need different solutions. The guard must clear the tyre, frame and saddle as the suspension moves and a dropper seatpost lowers. A guard that fits while the bike is standing still may not clear everything on the trail.
What to look for
- Choose a guard intended for your fork and tyre size.
- Check clearance through the full suspension travel.
- For a rear guard, check the frame layout and dropper position.
Mudguards for road cycling
For regular wet rides, full-length guards give broad coverage when your bike has the mounts and space. A long rear guard with a suitable flap also reduces spray towards riders behind.
Many performance road bikes, particularly carbon models, lack eyelets. Removable guards that strap to the fork legs and seatstays can offer substantial coverage. For a minimal option, a short blade beneath the saddle helps keep your bum and back drier, with less protection elsewhere.
Check clearance around the tyres, frame and brakes, plus the shape of the attachment points. Disc brakes do not guarantee a fit, and a saddle guard needs to work with your saddle rails and any bag.
What to look for
- Match the guard to your tyre width and brake setup.
- Check mounting space as well as tyre clearance.
- For group rides, look at rear length and mudflap options.
Mudguards for commuting, leisure & touring
If you ride in everyday clothes, broad coverage is worth prioritising. A full-length front and rear set helps reduce road spray on your clothes, shoes and luggage. Mudflaps extend that coverage lower down.
Hybrids, touring bikes and many city bikes have useful mounting points. Many hybrid suspension forks have mudguard mounts too, but not all: check the fork itself and use suitable fittings that allow it to move freely. A rack, brake caliper or light can also affect where brackets and stays sit.
If you prefer easy removal, a suitable clip-on set is an alternative. Compare its length and coverage with a full-length set, especially if you ride wet roads most days.
What to look for
- Prioritise length and width for everyday protection.
- Check that rack, light and mudguard fittings work together.
- Look for secure mounts and replaceable fittings.
Mudguards for gravel & mixed riding
For lanes, cycle paths and smoother gravel, the choices are much like those for road bikes: full-length guards, removable strap-on sets or a minimal saddle guard. Choose a design with enough width for your gravel tyres.
On rougher ground, longer guards can rattle if their supports flex or loosen, while close-fitting guards can clog in sticky mud. Compact guards can be a more practical choice for challenging routes, accepting less spray protection. Secure mounting and room for the tread and mud still matter.
A suspension gravel fork may accept a compatible MTB-style guard or a dedicated design. Check the fork’s fitting guidance rather than assuming any MTB guard will fit.
What to look for
- Check actual tyre width, including the tread.
- Choose secure fittings suited to uneven surfaces.
- Make room for mud as well as the guard itself.
E-bikes, folding bikes & children’s bikes
Electric bikes
Choose by bike type and tyre size, just as you would for a non-electric bike. Electric cargo bikes need particular attention to their model-specific fittings and potentially different front and rear wheel sizes. Where a guard carries a light, wiring or a rack attachment, check the exact replacement assembly.
Folding & compact bikes
Wheel size is only the first check. Guards and stays must allow the bike to fold and stand as intended. A model-specific replacement is often the clearest starting point. Confirm the model and year, particularly where the guard includes a reflector, light or support fitting.
Children’s bikes
Choose for the actual wheel and tyre size, with suitable mounting points and secure clearance. An adult guard is not automatically suitable just because it can be strapped on. Check that brackets and guard ends stay clear of pedals and the rider’s feet.
Will the mudguards fit your bike?
Think of compatibility as a range. “Universal” usually means adjustable enough to fit many bikes within stated limits. It does not mean every bike, tyre or fork.
Broad-fit designs
Straps, cable ties and adjustable clamps give flexibility. You still need the right mounting shape, dimensions and clearance.
Size- or system-specific designs
The guard may suit a wheel and tyre range, a seatpost diameter or an approved mounting system. All the relevant measurements must match.
Model-specific designs
The guard uses fittings intended for particular bikes or forks. Confirm the model, generation or year and any required adapter or part number.
A useful example: The RRP ProGuard Mini Front Mudguard uses cable ties to fit a wide range of conventional suspension forks. The FOX Fork 36/38 XL Front Mudguard is model specific as it uses dedicated mounting points found only on compatible FOX 36 and 38 forks. Both work very well at reducing reduce front-wheel spray; the difference here is how they attach and which forks they fit.
Five checks before you buy
1. Wheel & tyre size
Read the tyre sidewall, then compare it with the guard’s supported wheel sizes and tyre-width range. Check front and rear separately if your bike uses different wheel sizes. The tyre fitted to your bike may differ from its original specification.
2. Space around the tyre
For a guard that follows the tyre, you need space for its width, the guard itself and the required gap. Check the tightest points around the fork, frame and brakes. A bike’s maximum tyre clearance without mudguards does not establish its clearance with them fitted.
3. Mounting points
Look for the threaded eyelets or dedicated holes specified by the guard. With straps or clamps, check the mounting area’s shape and size. Only use adapters approved for the guard and suitable for your frame or fork; a nearby hole is not automatically a mudguard mount.
4. Moving parts & accessories
Allow for suspension travel, steering, pedalling, a lowered dropper and folding where relevant. Check racks, brake hoses, bags and lights too. Use a dropper-compatible mounting arrangement rather than putting a standard clamp on its moving shaft.
5. Exact version & included parts
For a dedicated guard, check the bike or fork model, year or generation and part number. Read what comes in the box: adapters, stays, bolts or mounting kits may be separate. Also check whether you are buying a complete guard or a replacement blade.
How much clearance is enough? Use the instructions for the exact guard and bike. Clearance requirements differ between designs, so a measurement for one product is not a rule for another. If the fit information is unclear, check before ordering.
Rider Tip: check the width
Choose a mudguard wider than your tyre so it catches spray beyond the tread’s edges. Check the manufacturer’s supported tyre range: a guard’s stated width is not the same as the tyre width it fits. Then make sure that wider guard still has the required space inside your frame or fork.
What does fitting involve?
Start with the attachment type. Some guards strap straight on; others need brackets and stays adjusted before the fit is right. A guard that removes quickly may still need careful first fitting.
Straps & cable ties
Usually the simplest setup. Clean the contact areas, add the supplied protective pads and position the guard. Secure the straps or ties as instructed, keeping them clear of brake hoses and moving parts.
Full-length sets with stays
Allow time to align the guards around both wheels and adjust their supporting stays. Some stays need shortening, and adapters or spacers may be needed. A workshop can help with cutting and fitting if you’re unsure.
Dedicated bolt-on guards
Once the model compatibility is confirmed, use the specified bolts and any required adapter. Follow the maker’s tightening instructions; a similar-looking fitting is not necessarily interchangeable.
Before your first ride
- Spin both wheels and check that neither tyre rubs the guard.
- Turn the handlebars and check brakes, hoses and fittings for contact.
- Check suspension movement, a lowered dropper or the bike’s fold where relevant. Follow the manufacturer’s procedure or ask a workshop to check.
- Keep supplied safety-release fittings in place, and recheck the fixings and alignment after your first ride.
After muddy rides, clear away build-up and inspect straps, brackets and stays. If a guard starts rubbing or rattling, check its position and fittings rather than simply tightening everything.
What is worth paying for?
Spend for the coverage and fit you need. A simple flexible guard can be enough for occasional trail splash, while daily wet-weather riding can justify a longer set with secure, adjustable mounts. More expensive does not automatically mean more suitable.
Compare what is included, the ease of removal and the availability of replacement fittings. Allow for any separate mounting kit and fitting work when comparing the total cost.

Mudguard questions, answered
Can I use the same mudguards on two bikes?
Sometimes, if both bikes meet the guard’s fitting requirements. Removable guards are easier to transfer, but different tyres, tube shapes and mounting positions may need readjustment or a second fitting kit. Check the fit each time rather than assuming the original setup will transfer unchanged.
Can I keep my mudguards if I fit wider tyres?
Only if the new tyres remain within the guard’s supported range and the required clearance is still available. Check the fitted width and tread, not just the size printed on the tyre. A wider or taller tyre can rub even when the wheel diameter has not changed.
Will a rear mudguard work with a saddle bag or dropper post?
It depends on the attachment and available space. A saddle guard and bag may compete for the same rails, while a seatpost-mounted blade needs a suitable clamping area. Check clearance with the dropper fully lowered and, on a full-suspension bike, through the suspension travel.
Do mudguards keep you completely dry?
They reduce spray thrown up by the wheels. They cannot stop rain falling on you or every splash from puddles. Longer, well-fitted guards generally give more coverage than small splash guards, so match your expectations to the design.
Can I replace just a damaged guard or fitting?
Sometimes. Check for a replacement blade, stays or mounting kit for the exact guard model. If a guard incorporates a light or another bike-specific fitting, identify the correct replacement assembly. Inspect the remaining attachments before reusing them.
Explore mudguard brands
Once you know the guard type and fitting you need, compare the options from these brands. Check each product’s compatibility: a matching brand name alone does not establish the fit.
Ready to choose?
Ask yourself
- Do I want occasional splash protection or coverage for regular wet rides?
- Have I checked both tyre size and space around it?
- Does the mounting system suit my bike or fork?
- Have I allowed for moving parts and any extra fittings?
If you’re unsure about fit, share your bike make, model and year, tyre size and, for an MTB front guard, fork details with us. Clear photos of the mounting areas can help us advise you.
Find the mudguards for your next ride
Choose the coverage that suits your riding, check the fit and head out ready for the weather.
Continue your research with more Uprise guides