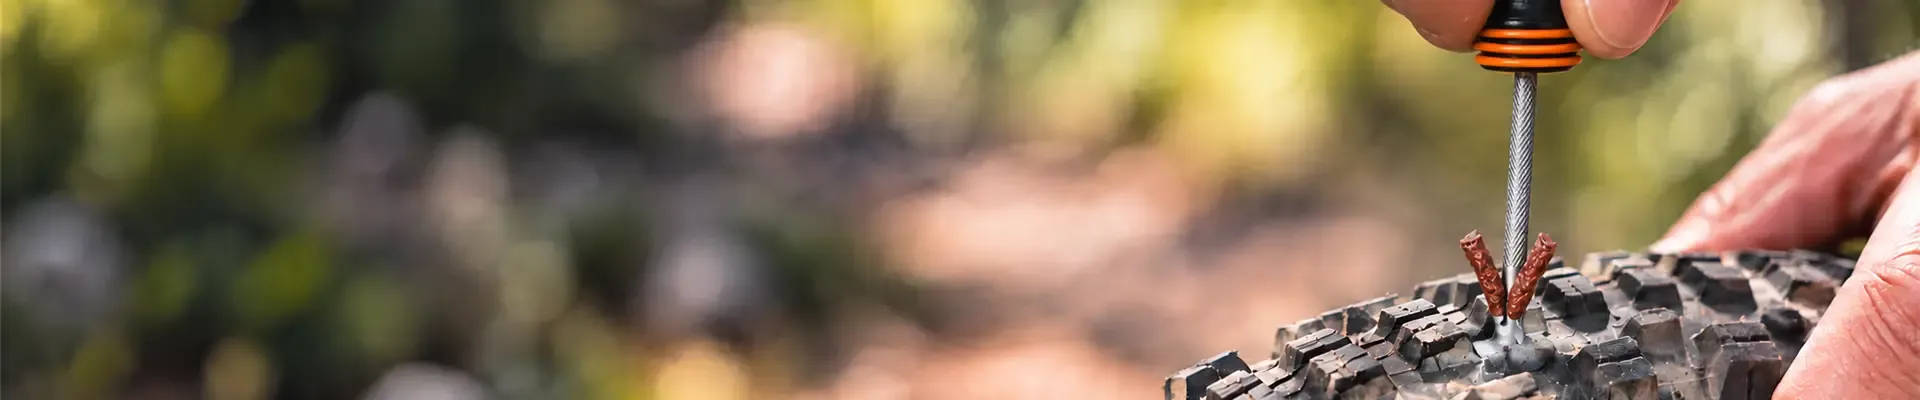
Get back on the road or trail
Practical tube and tubeless repairs for the roadside and trail.
A flat tyre needn’t finish your ride
A little preparation makes a puncture much less disruptive. Find somewhere safe to stop, work out whether your tyre uses an inner tube or a tubeless setup, and choose the repair that matches it. The aim at the roadside or on the trail is to restore a tyre that holds pressure and is safe to ride.
With inner tubes, the hole is usually repaired with a patch or by fitting a spare tube. With tubeless tyres, fresh liquid sealant often seals small punctures automatically. A hole that keeps leaking may need a tyre plug or a system such as Stan’s DART.
A split casing, damaged bead or rim, or a tyre that won’t hold pressure changes the decision. Don’t keep riding on a flat or assume a plug can repair structural damage. Arrange a lift or walk the bike when a sound repair isn’t possible.
Pack a repair kit that matches your bike
Carry a spare inner tube with the right wheel diameter, width range and valve length, even if you normally ride tubeless. Add tyre levers suitable for your rims, the tools needed to remove your wheels, and a pump that fits your valves.
For a tube setup, pack a conventional patch kit with vulcanising solution or compatible glueless patches. For tubeless, add your plug tool and matching refills. Check sealant compatibility before choosing a reactive repair system such as DART.
Know your tube material: standard butyl, latex and TPU tubes can need different patches and preparation. A normal rubber patch kit isn’t automatically suitable for a lightweight TPU tube. Check the tube maker’s instructions.
Rider Tip
Practise removing a wheel and using your pump at home. Check your patches, plug refills and wheel tools before a long ride; an empty glue tube or the wrong valve fitting is easier to sort out before you leave.
Fix an inner-tube puncture at the roadside
- Move clear of traffic or the riding line. Remove the wheel following your bike’s instructions; use the correct axle tool. Avoid touching hot disc rotors, and don’t squeeze a hydraulic brake lever with the wheel out.
- Release the remaining air. Push both tyre beads into the centre channel of the rim, then lift one side off with suitable tyre levers. Leave the other side fitted if practical and remove the tube.
- Add a little air to the tube and listen or feel for the leak. Note its position relative to the valve, then inspect the corresponding part of the tyre. Remove the thorn, glass or other cause carefully; don’t run a bare finger over hidden sharp debris. Check the rim tape too.
- Fit your spare tube, or patch a small repairable hole using the method below. A torn valve base, large tear or badly damaged tube usually calls for replacement.
- Give the tube just enough air to hold its shape. Insert the valve straight, tuck the tube inside and refit the tyre bead, keeping it in the rim’s centre channel. Finish by hand where possible and avoid trapping the tube under a lever.
- Check both sides for pinched tube and even bead seating. Inflate gradually within the tyre and rim limits, refit and secure the wheel correctly, then check brake operation and pressure before riding.
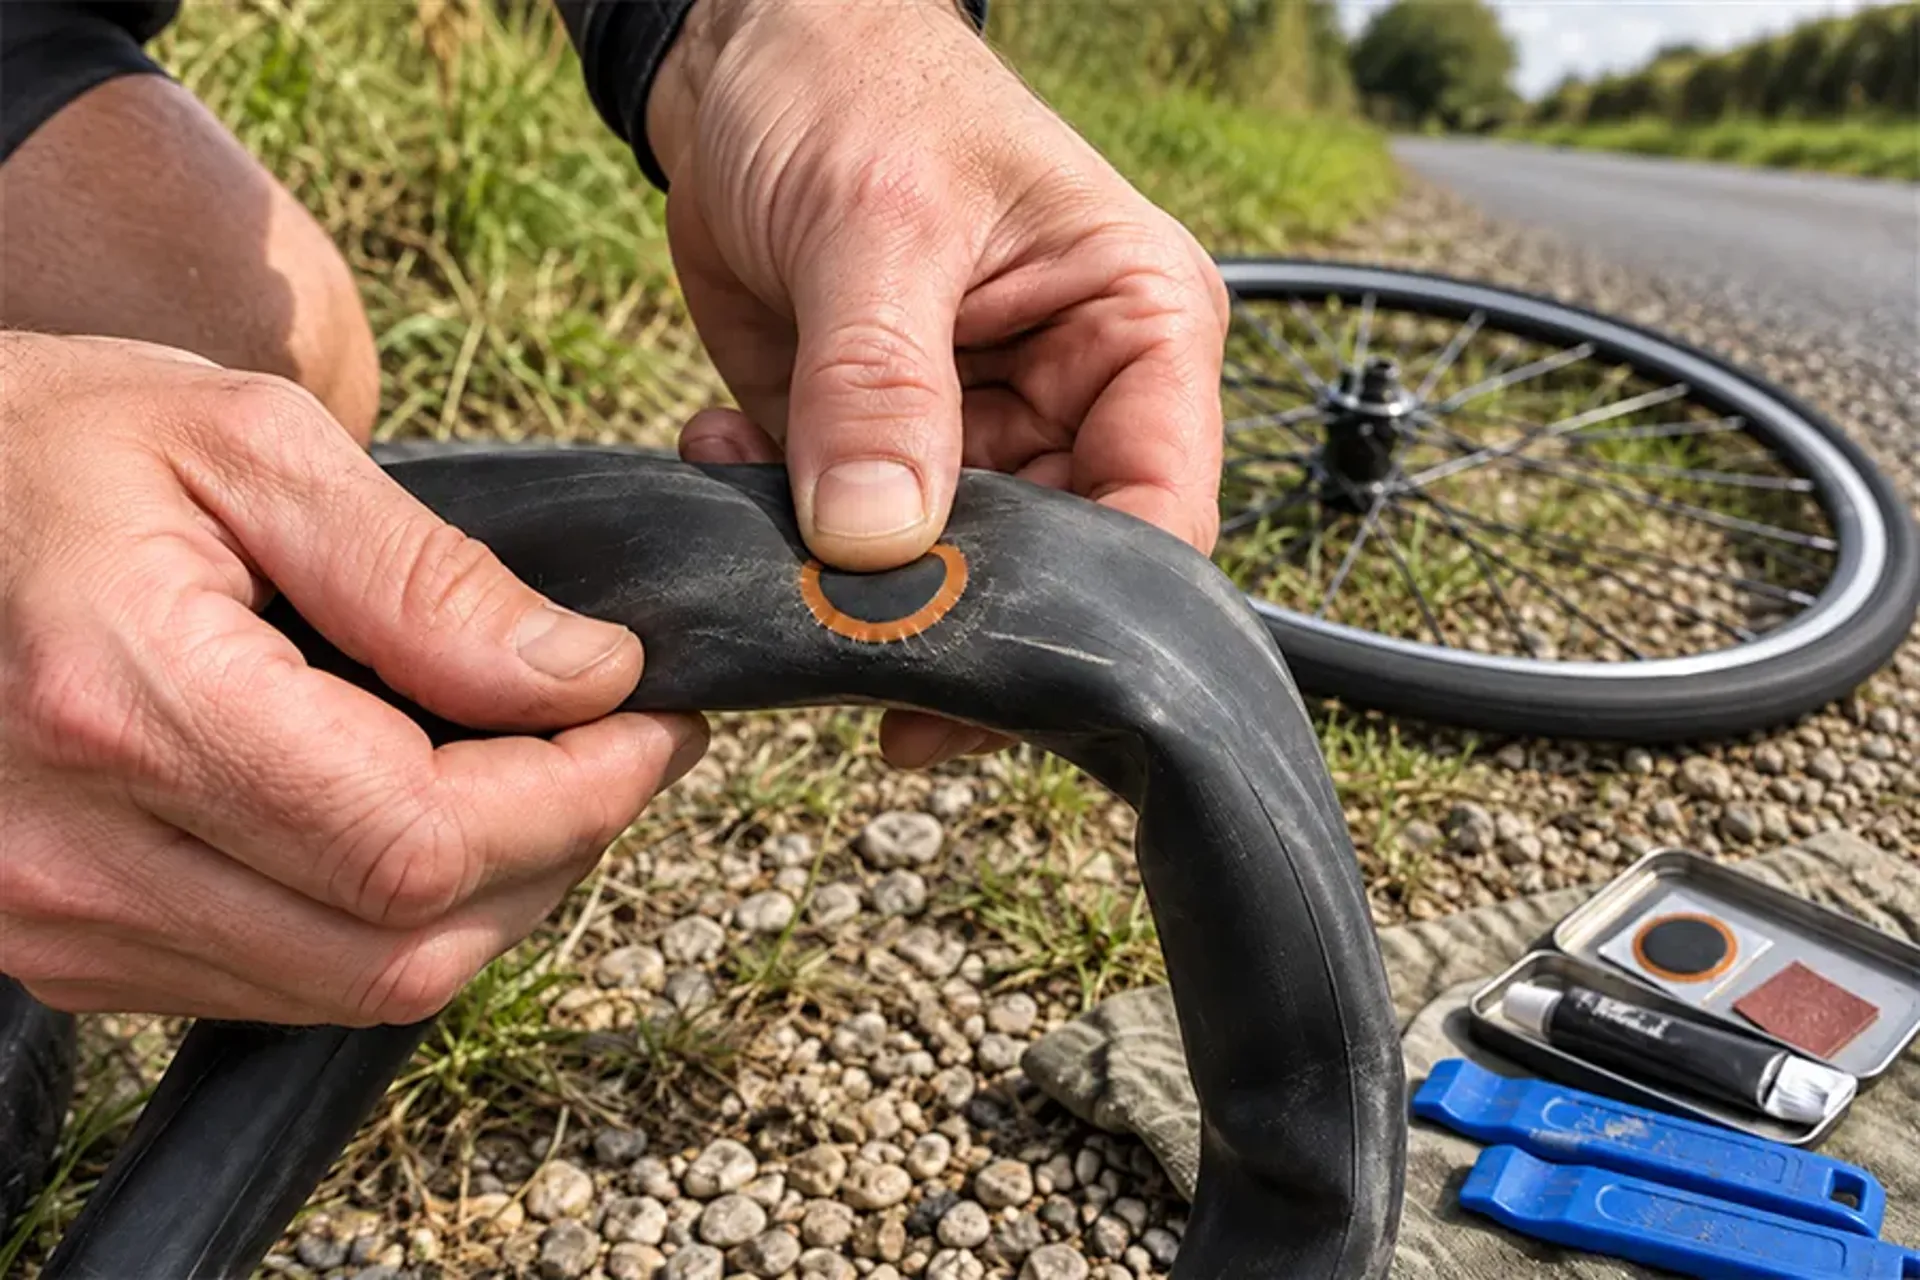
Conventional patches or glueless patches?
Both can help with a small hole in a compatible inner tube. Clean, dry preparation matters more than rushing. Follow the instructions for your exact tube and patch kit.
Conventional patches with vulcanising solution
- For a compatible butyl tube, mark the hole and lightly roughen a patch-sized area as directed. Remove dust and keep the surface clean and dry.
- Spread a thin, even layer of the kit’s vulcanising solution over an area slightly larger than the patch. Allow it to dry for the time specified by the kit; pressing a patch onto wet solution can spoil the bond.
- Remove the patch’s backing without touching the bonding surface. Centre it over the hole and press firmly, particularly around the edges. Follow any further waiting or film-removal instructions before refitting.
Glueless patches
Use the preparation stated on the pack: some require light roughening, while certain tube-specific patches must not be sanded. Peel the backing, avoid touching the adhesive, and press the patch firmly onto the dry tube. Observe the specified pressing and waiting times.
Check that the patch has bonded before refitting. If it lifts, leaks or wrinkles across the hole, use your spare tube rather than relying on it. Take the damaged tube home for a cleaner inspection.
Tubeless repairs: let sealant work, then use a plug if needed
Tubeless sealant circulates inside the tyre and can seal small punctures without a separate repair. You may notice a brief hiss or some sprayed sealant before the leak stops. Stop and check the pressure rather than assuming no air was lost.
Locate an active leak and rotate the wheel so sealant can reach it. If the tyre continues to lose air, inspect the damage before choosing a plug. A tread puncture is different from a long sidewall tear, bead damage or a leak at the rim or valve.
- Find the hole and carefully remove any sharp object still in it. Keep enough air in the tyre to support it while working, if possible.
- Prepare the correct plug on its matching insertion tool. Use the size and technique specified by that system. Some strip-plug tools use a reamer; other systems must not be treated the same way.
- Insert the plug to the recommended depth and withdraw or release the tool as instructed, leaving the repair material in place. Don’t push a tool so far that it strikes the rim.
- Reinflate and check that the leak has stopped and the tyre holds pressure. Follow the system’s guidance on any protruding material; not every plug needs trimming.
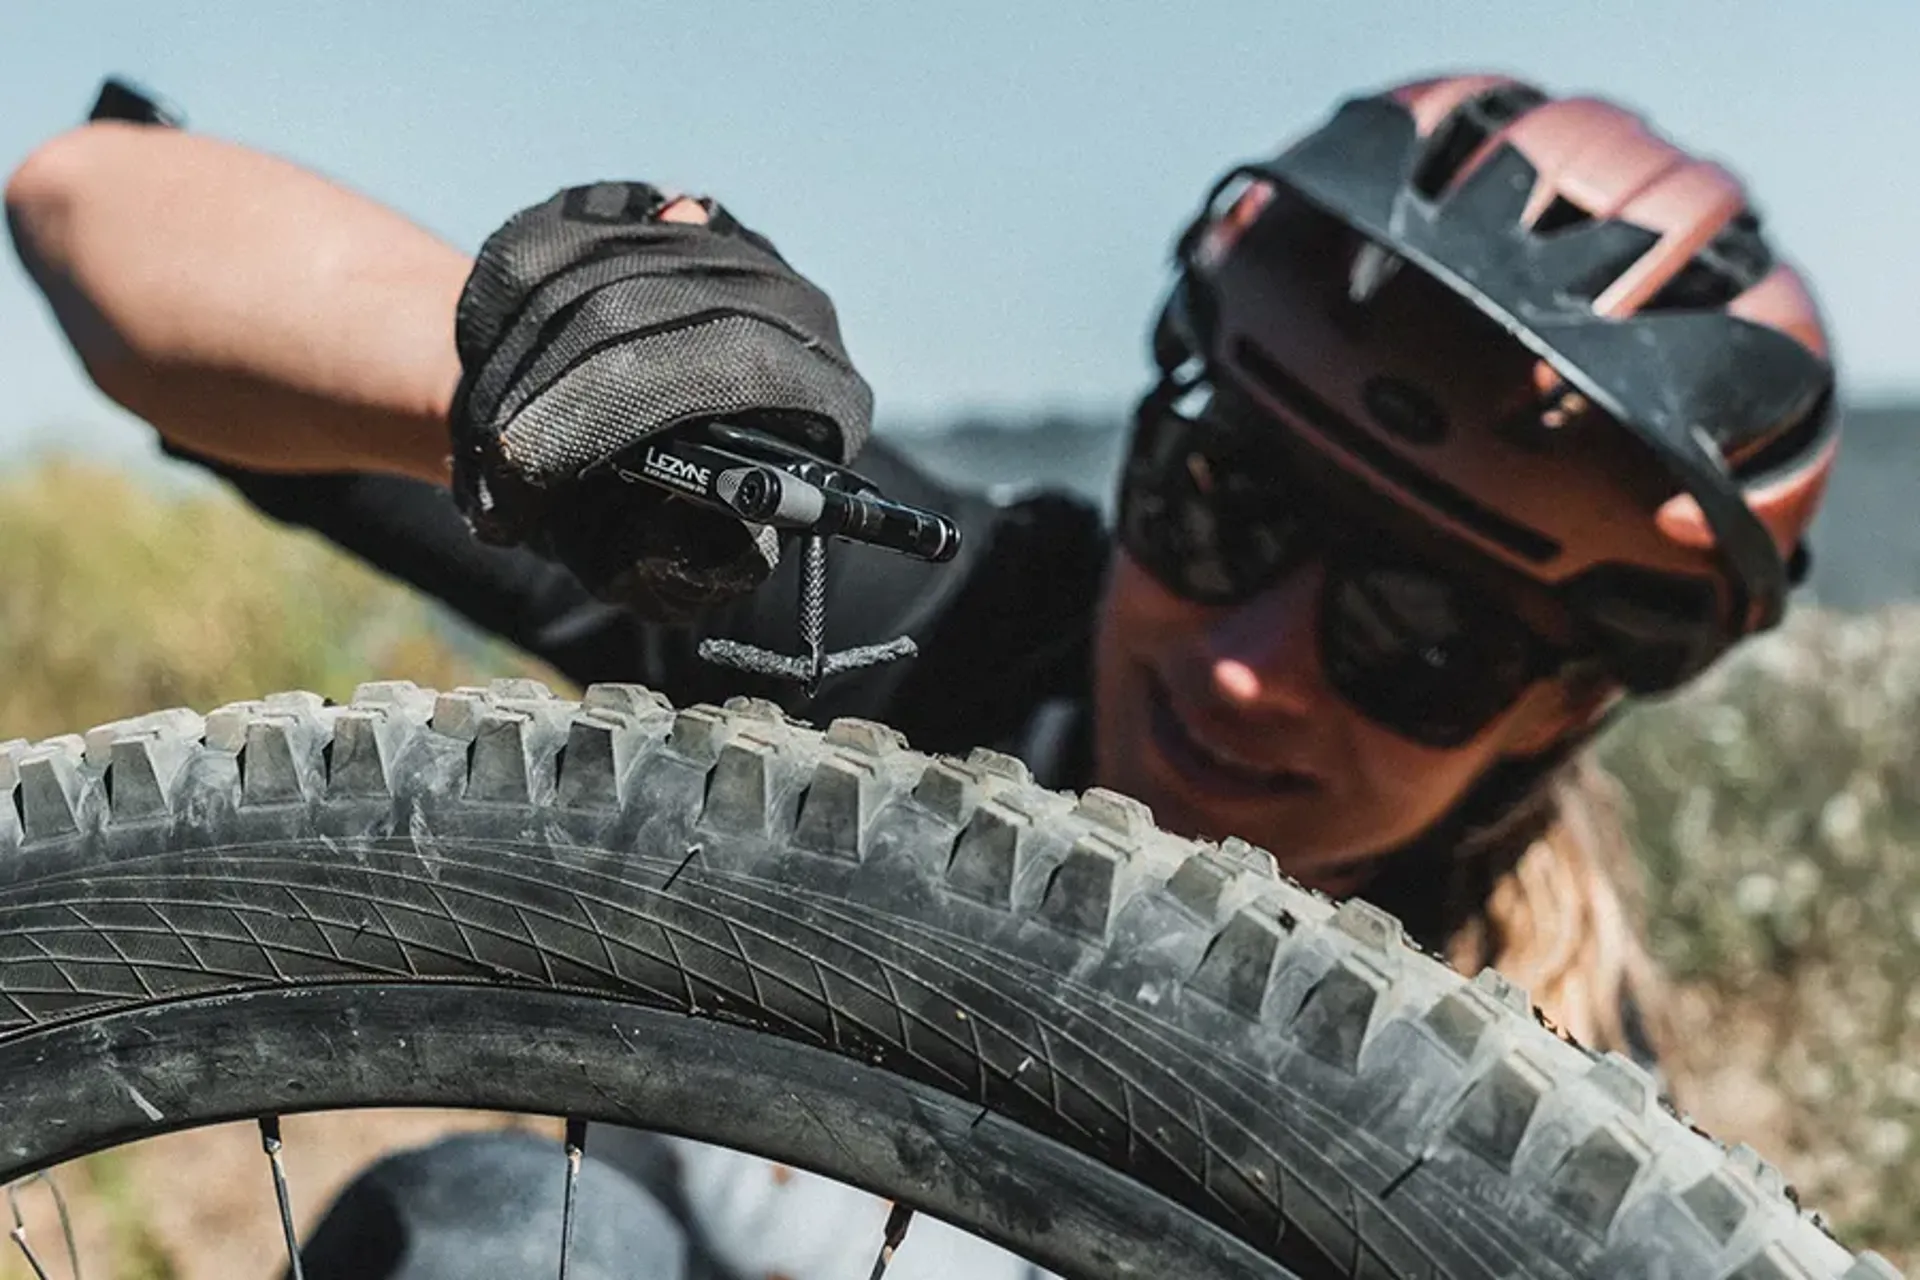
Simple strip plugs, anchored plugs and reactive systems have different tools, refills and insertion methods. Buy compatible refills and practise the sequence beforehand. A sealed hole does not prove that a damaged tyre casing is sound.
How Stan’s DART differs from a conventional plug
Stan’s DART uses a barbed tip and treated material that reacts with latex-based sealant to help seal the hole. Compatible liquid sealant is essential; it is not simply a dry rubber strip. Check the sealant in your tyre before relying on it.
- Locate the puncture and carefully remove the sharp object. Uncap a fresh DART and align it with the hole.
- Push it in until the tool body contacts the tyre and the barbs are fully inside, following Stan’s instructions. Withdraw the tool, leaving the DART in place.
- Turn the wheel so the repair is at the lowest point and sealant reaches it. Reinflate and check the seal. Stan’s permits another DART where needed, but continuing leakage or structural damage means reassessing the repair.
The soft exposed DART material does not need trimming. If you inflate with CO₂, Stan’s advises replacing it with air and refreshing the sealant when you get home.
When a spare inner tube is the better fallback
If a tubeless puncture won’t seal, a spare tube can get you home provided the tyre, rim and bead remain sound and the wheel setup allows tube use. A tube cannot make a badly torn tyre safe.
Remove the wheel, release the air and open one bead. Remove the tubeless valve to make room for the tube valve, and check the tyre carefully for every sharp object. Deal with any plug tip or other part inside the casing that could damage the tube, following the repair maker’s advice.
Fit the compatible tube, seat the tyre and inflate as for a normal tube repair. Tyre inserts can complicate this fallback; check how yours must be removed and how you’ll carry it before heading out.
If there’s a substantial casing cut, exposed cords, bead damage or an unreliable repair, stop and arrange another way home. Don’t keep adding plugs to avoid that decision.

A repair still needs a way to inflate the tyre
A mini pump gives you repeatable inflation if a first attempt doesn’t hold. Choose one suited to your tyre volume and pressure, with the right valve fitting. CO₂ can be quick, but cartridges are a finite supply and sealant compatibility varies.
Reinflating a tyre whose bead has stayed seated is different from reseating a fully unseated tubeless tyre. A small carry pump may struggle with the second task; fitting a spare tube may be more practical beside the trail.
Use a gauge where available and stay within both rim and tyre limits. Check that the bead is even and the tyre holds pressure before setting off. Stop again if handling feels unusual or pressure drops.
Our Bike Pumps Guide explains mini pumps, CO₂ inflators, track pumps and tubeless inflation options.
Check the repair properly when you get home
Inspect the tyre inside and out, check the rim tape and valve, and find the cause of any recurring puncture. Replace damaged tyres and replenish the spares you used.
A small hole in a compatible inner tube can often be patched more carefully at home. Find a slow leak with water if needed, then dry the tube fully before preparing and applying the correct patch. Check the repair before returning the tube to your ride kit.
For a plugged tubeless tyre, follow the tyre and repair-system maker’s guidance about continued use. Check for casing damage and pressure loss, and refresh sealant as directed. A plug that holds air is not permission to ignore a cut or damaged cords.
Longer-term tyre repairs are outside this guide’s repair-kit scope. Where a maker permits an internal tyre repair, seek the appropriate advice and equipment; an ordinary inner-tube patch is not a substitute. Replace a tyre that cannot be repaired safely.
Puncture repair FAQs
Can I use a tube patch on a tubeless tyre?
Tube patches are for compatible inner tubes. Use a tyre repair system approved for your tubeless tyre; don’t treat a glueless tube patch as a tubeless casing repair.
Should I carry a spare tube when riding tubeless?
Yes, a compatible spare can be useful when a hole won’t seal and the tyre remains sound. Check your valve length, wheel-removal tools and any tyre-insert removal requirements beforehand.
Will sealant fix every puncture?
No. It often seals small holes, but larger cuts, casing damage and rim or valve problems may need another approach. Sealant must still be liquid and suitable for your setup.
Are glueless patches suitable for every tube?
No. Tube material and patch design matter. Check the maker’s compatibility and preparation instructions, particularly for TPU or latex tubes.
Can I ride normally after plugging a tyre?
First check that it holds pressure, the bead is seated and the casing is sound. Follow the tyre and repair-system instructions, check again during the ride, and inspect it properly at home.
Continue your research with more Uprise guides
Ride further. Ride smarter. Ride your way.
Be ready for your next ride
Pack the repair supplies that match your tyres, carry a compatible spare tube and know how you’ll put air back in. A little practice at home makes the roadside version much easier.