
Tubeless bike tyre setups have revolutionised cycling, offering benefits like fewer punctures, lower rolling resistance, and a smoother ride. However, as any seasoned rider knows, even the best systems can face issues – particularly when it comes to sealing. If you’re struggling with a tubeless setup that won’t seal properly, you’re not alone. Fortunately, the problem can often be solved with a bit of patience and a few simple steps.
- Check the sealant
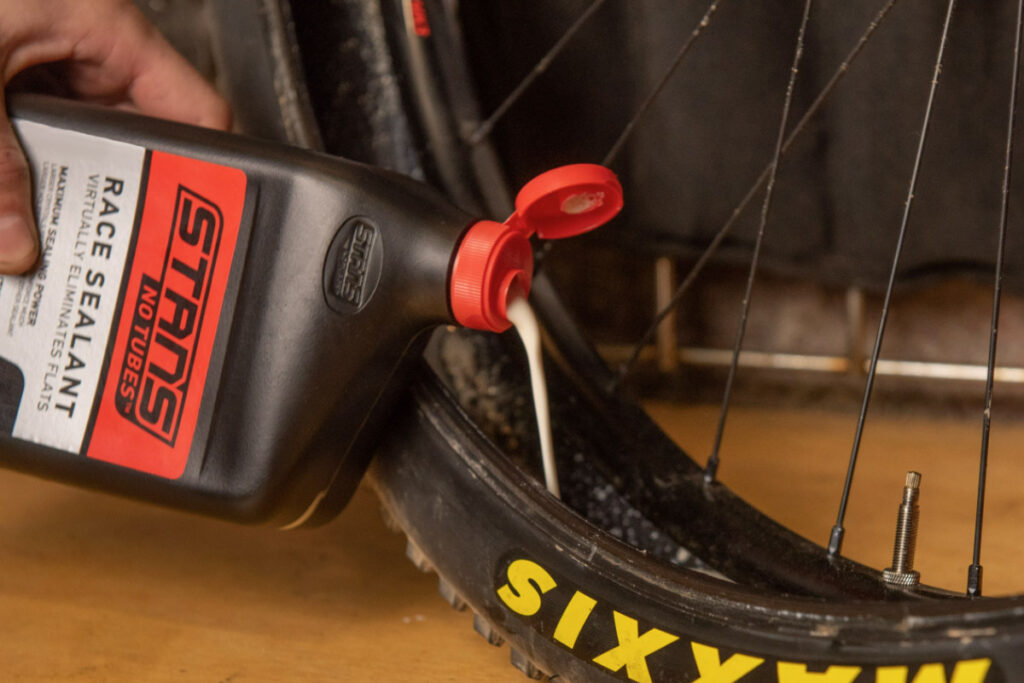
One of the most common reasons for poor sealing in tubeless tyres is expired or insufficient sealant. Over time, liquid in the sealant can dry out which makes it less effective at sealing punctures.
If your sealant has dried out or is low, top it up or replace it. Using a high-quality bike sealant is essential to ensure a long-lasting and effective seal. Ideally, you should replace your sealant every 4 to 6 months and check its levels every 3 months.
- Tighten the connection between tyre and rim
If your tubeless tyre won’t seal, it could be that the seal between the tyre bead and the rim isn’t tight enough. This can happen for several reasons, such as a poor tyre fit or dirt between the bead and rim.
To resolve this, clean the rim thoroughly to remove any dirt, dust, or old sealant. Inspect the tyre bead and ensure its properly seated in the rim. If the bead is visibly worn or “baggy,” it may be time to replace the tyre, as old tyres can struggle to form a tight seal.
- Rim tape
Good-quality tubeless rim tape is essential for forming an airtight seal between your rim and tyre. Poor-quality tape or tape that has worn out can lead to air leaks. Inspect your rim tape for any damage or gaps and replace it if necessary. Sometimes, using more than one layer of rim tape is required to form a more secure seal. When applying new tape, make sure it is even and covers the entire rim surface.
- Consider a tubeless repair kit
Even with the best setup, sometimes a puncture is just too big for sealant to handle. This is where a tubeless repair kit comes in handy. Carrying a repair kit can help you quickly fix a hole in your tyre while you’re out riding.
If the sealant can’t do the job, you can use tubeless plugs or a tyre boot to temporarily seal the hole and allow you to continue riding. Make sure you have a spare inner tube as well; in case the damage is too extensive for even the repair kit to manage.
5. Double-check the pressure
Finally, check your tyre pressure. If the pressure is too low, the bead may not fully seat against the rim, which can cause sealing issues. Ensure your tubeless tyre is inflated to the correct pressure, which will help the sealant spread evenly and properly seal any minor holes.
Check your tyres regularly
If you’re experiencing issues with your tubeless bike setup not sealing, don’t panic. Most of the time, the solution is straightforward and can be fixed with a bit of maintenance, keeping your tubeless system running smoothly and enjoy a smoother, more enjoyable ride.


